Before you start creating posts, make sure to connect all your social media accounts.
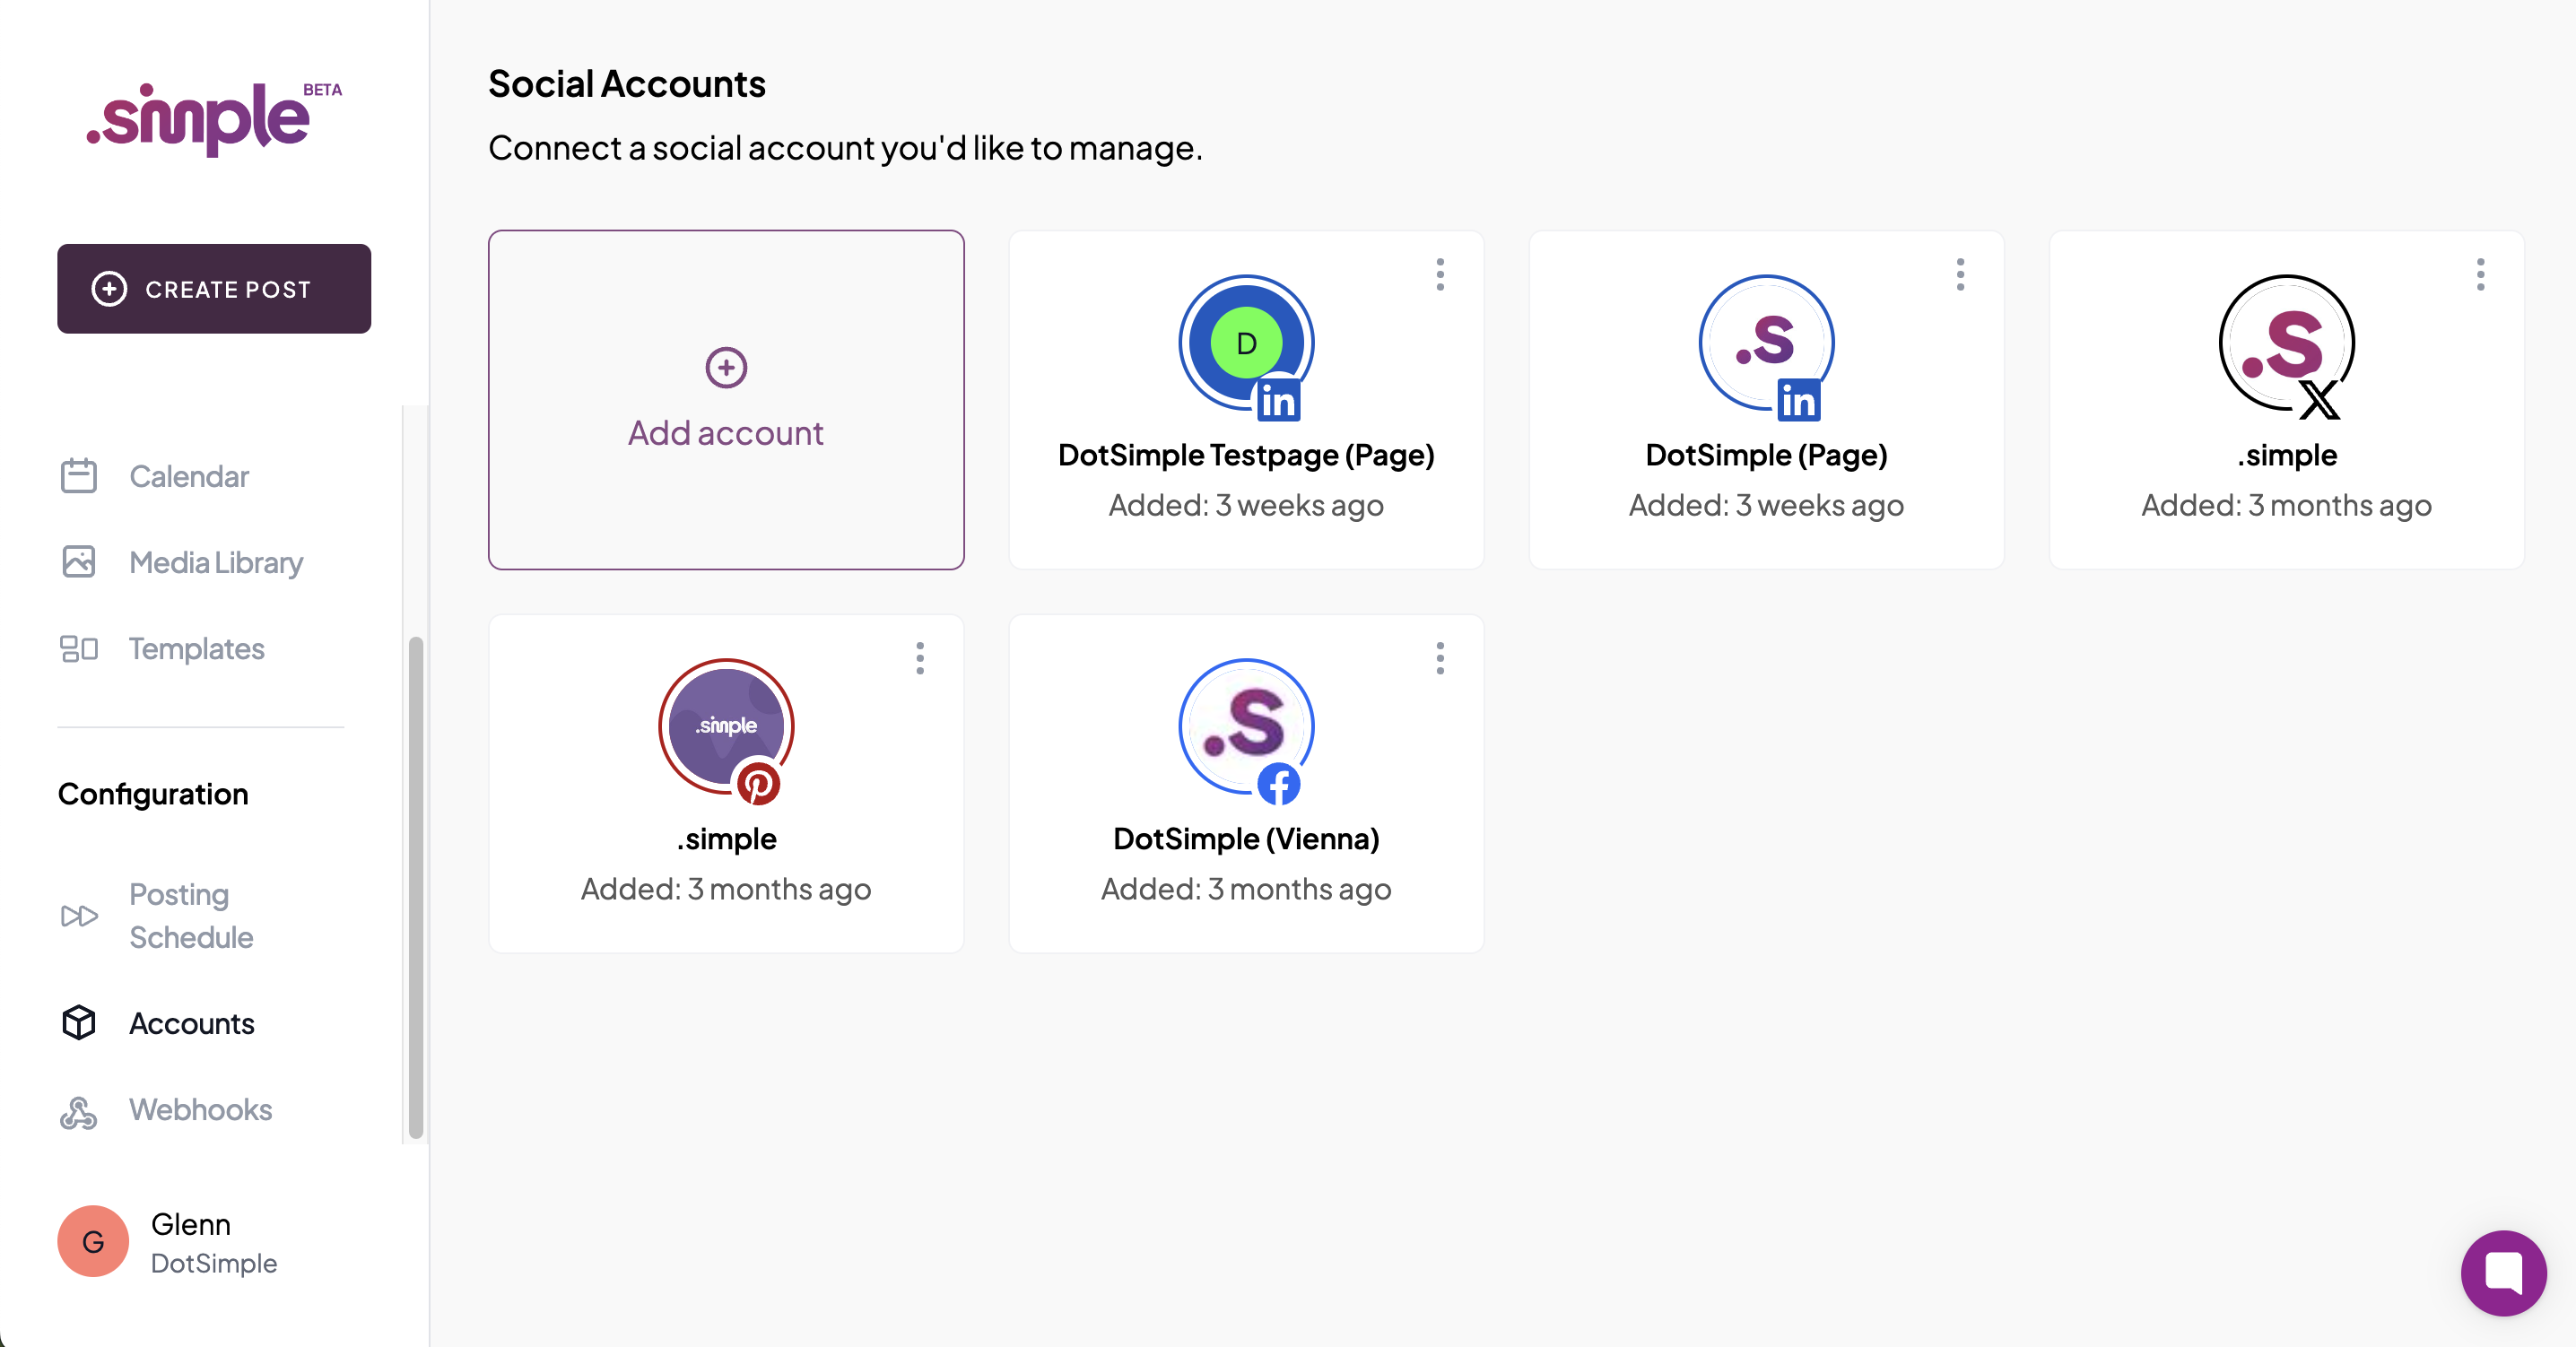
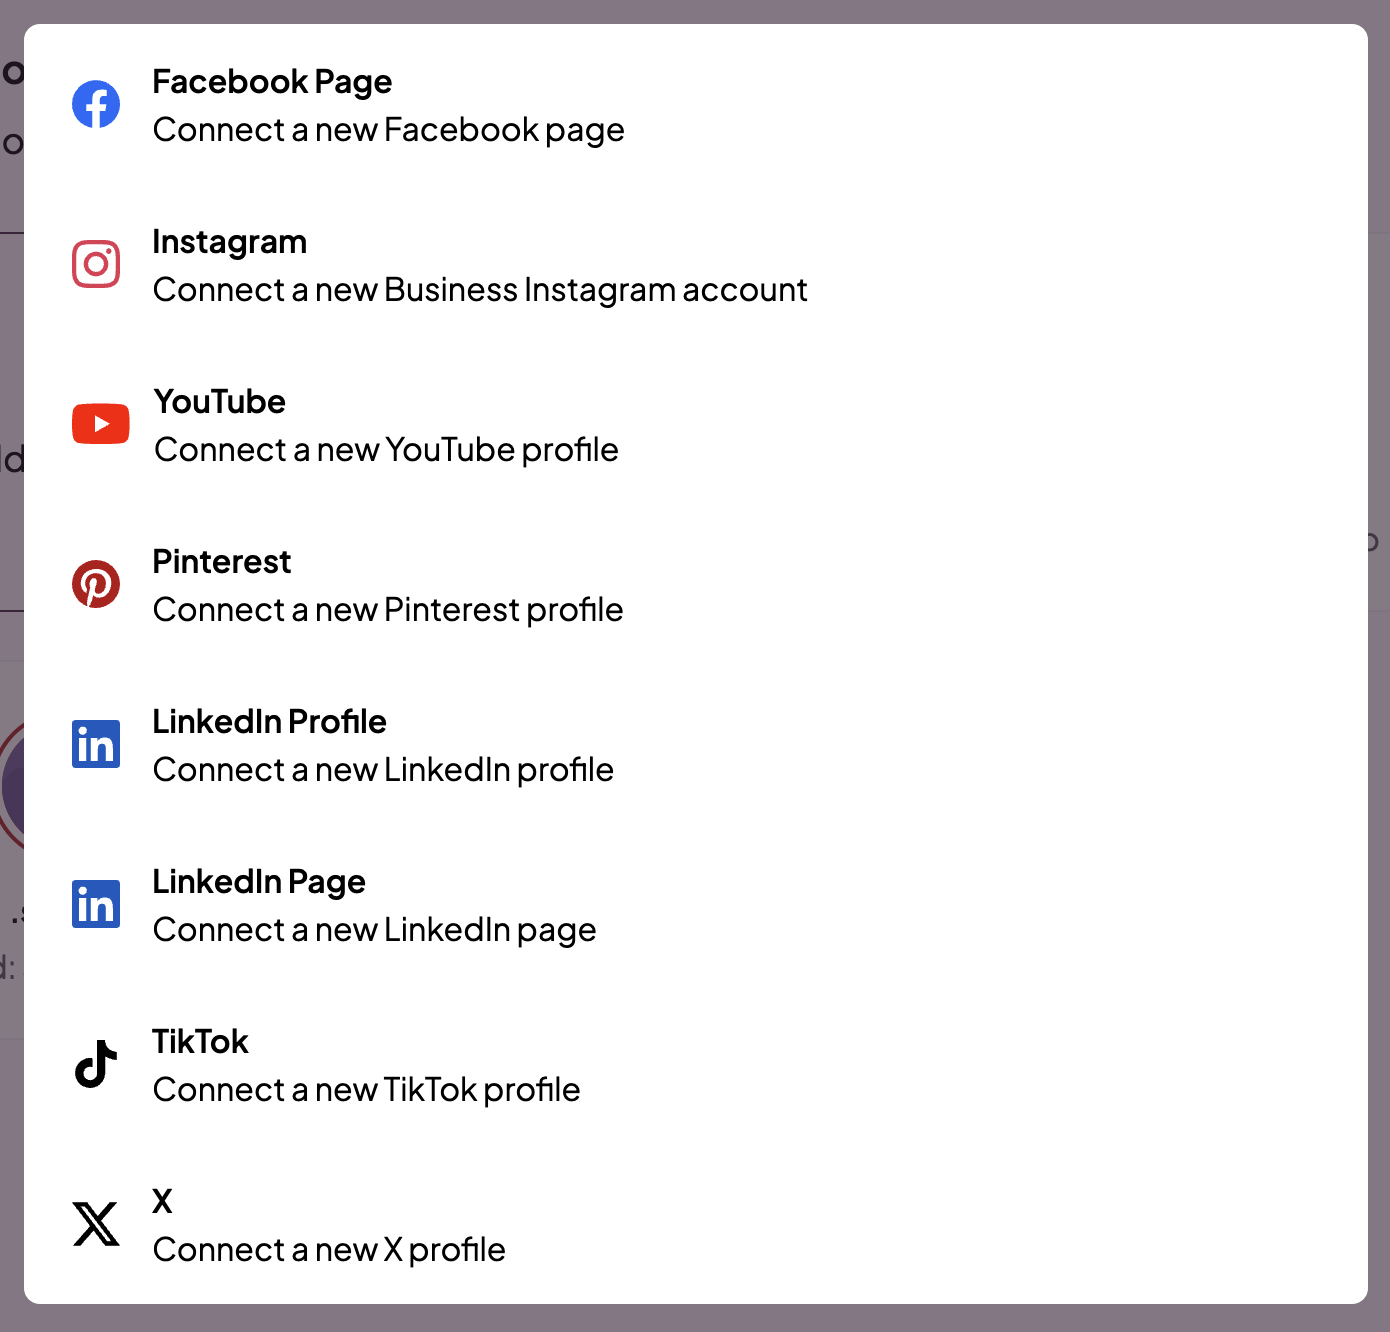
With DotSimple, you can easily publish your content simultaneously on multiple social media accounts. Go to "Accounts" and add all the social networks you want to manage through DotSimple. Simply search for the account by handle name or social network.
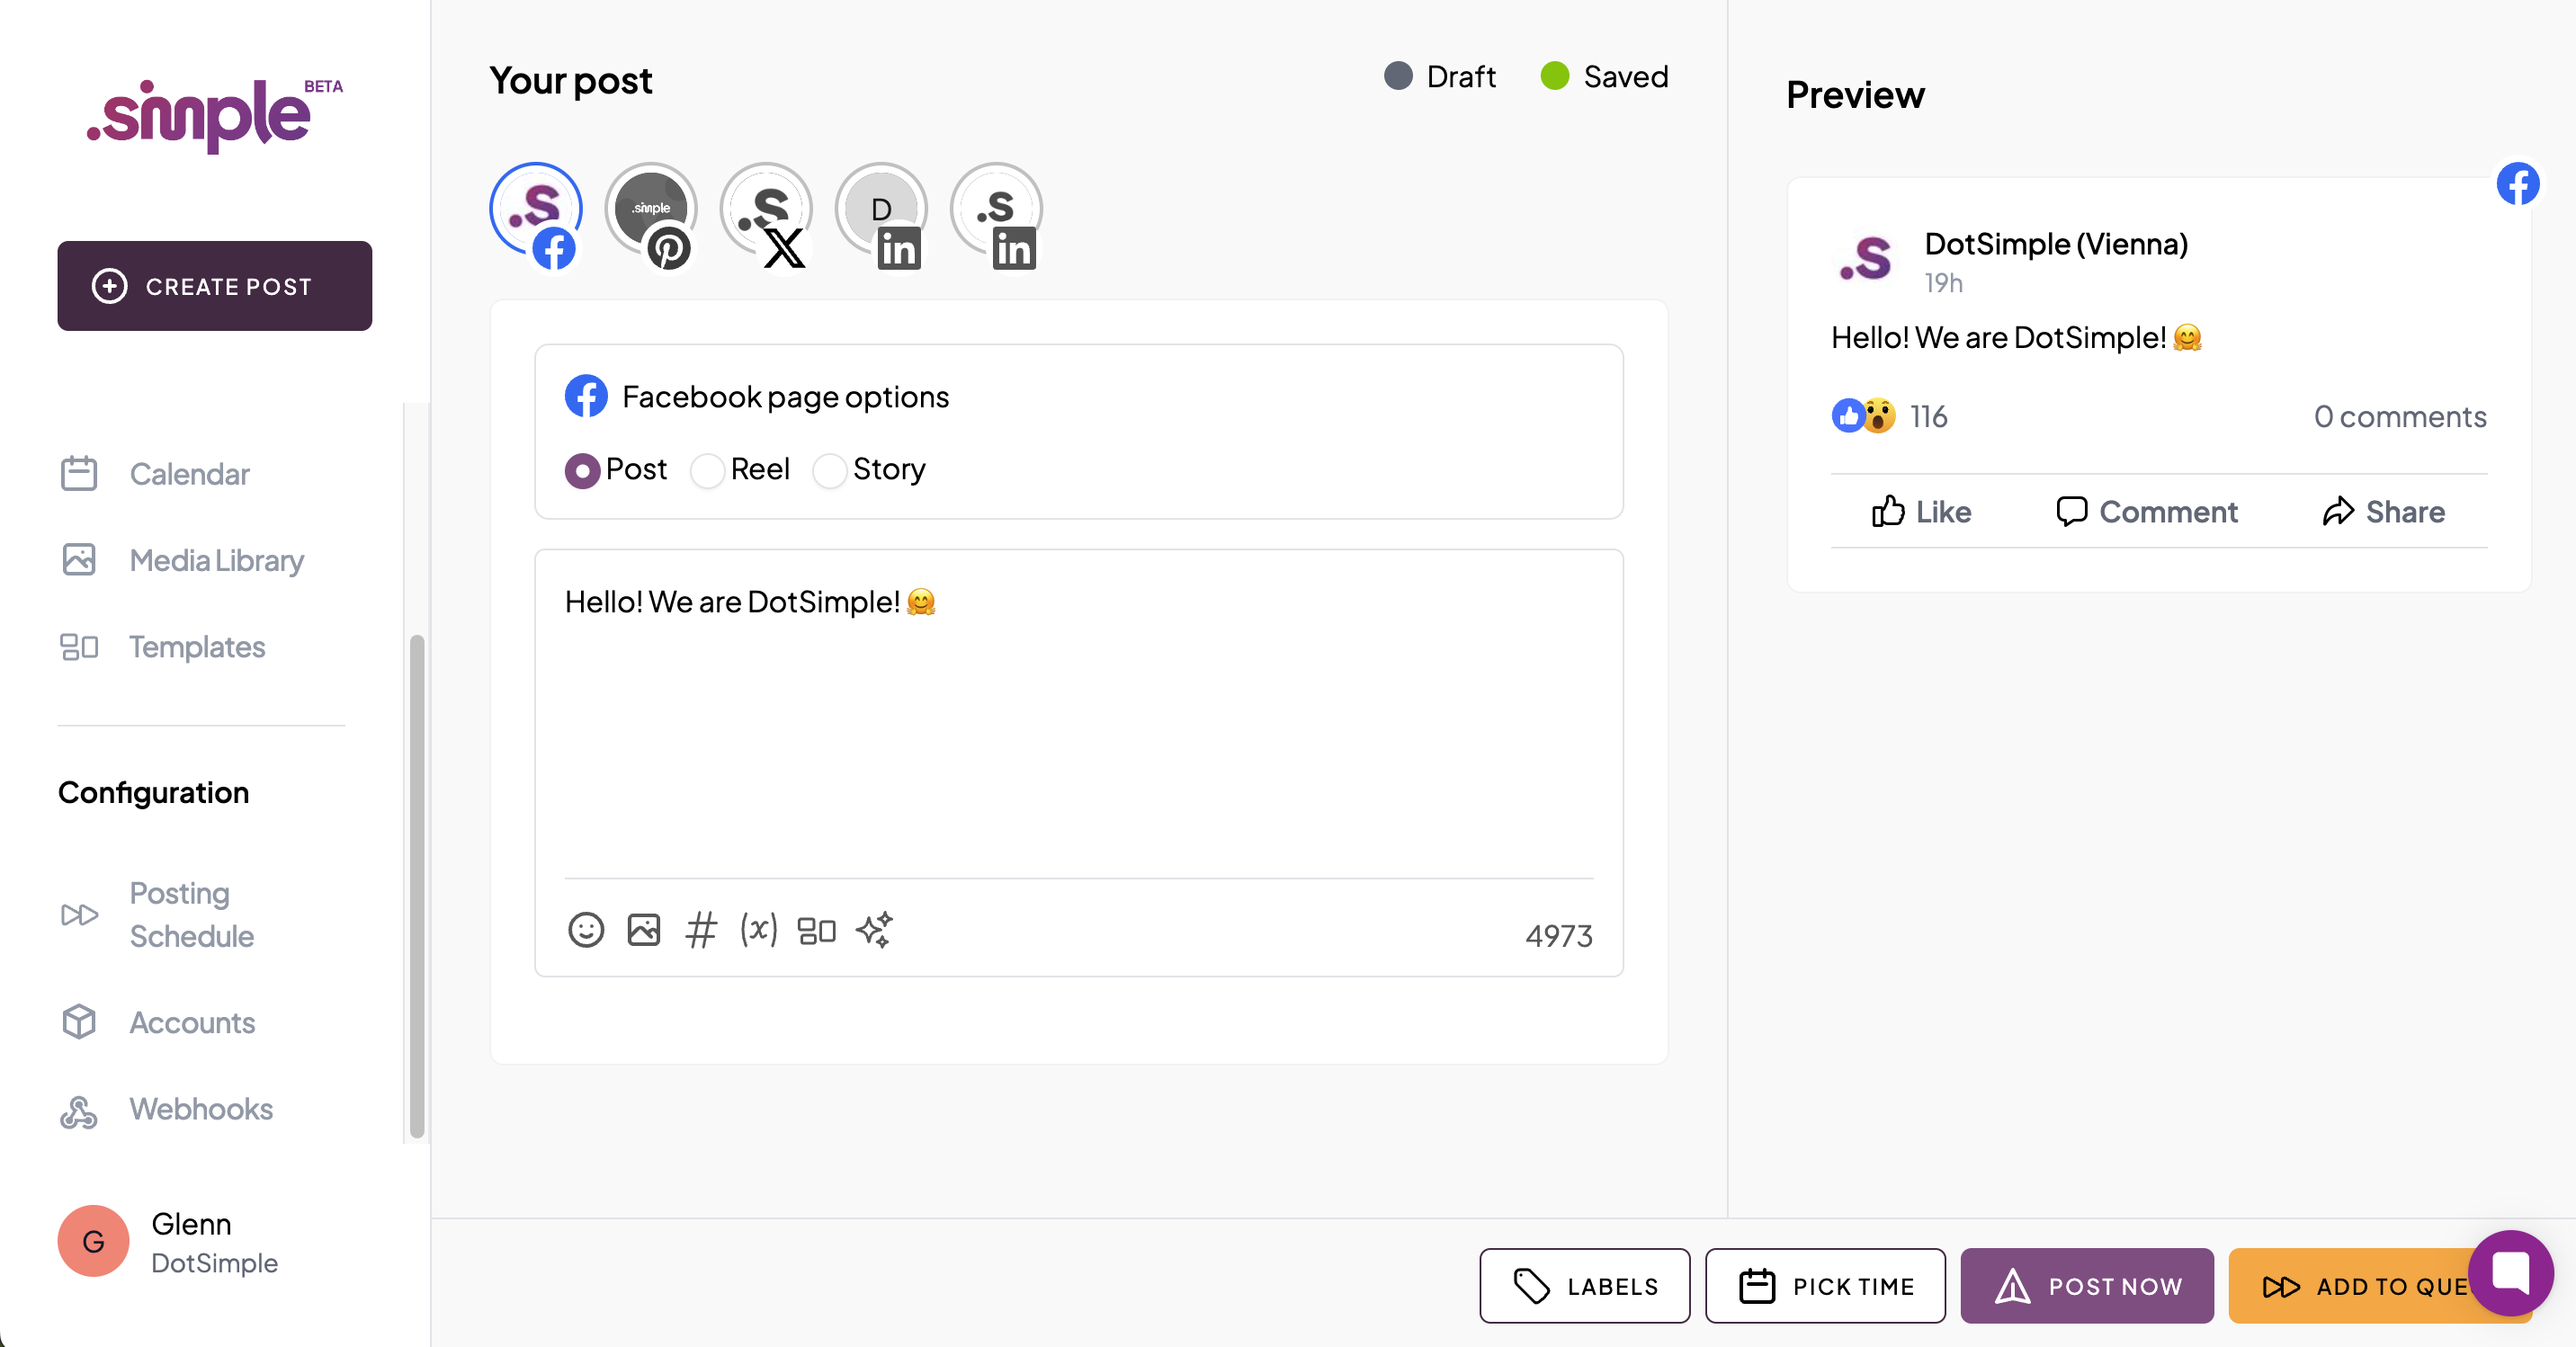
Creating content for your social media posts is easy. Use the text field to enter the text of your post. As you type, you will receive real-time updates on the number of characters. If you wish, you can even click on the "AI" button to have our artificial intelligence assist you in writing. Learn more about the AI writer in our knowledge base.
Tag a page or user: You can easily mention other pages or users in your content.
Links: Add links to your posts to encourage interaction.
Emojis: Express yourself with emojis of your choice.
Hashtags: DotSimple offers an advanced hashtag system that allows you to save hashtag clouds and reuse them for future posts.
Predefined Captions: Take advantage of our advanced caption system by saving captions and reusing them for future posts.
With DotSimple, you get real-time previews of your posts. As you add content to your social media posts, you can instantly see how they will look before publishing.
Start creating engaging posts with DotSimple's intuitive tools and simplify the process of automating your social media content.